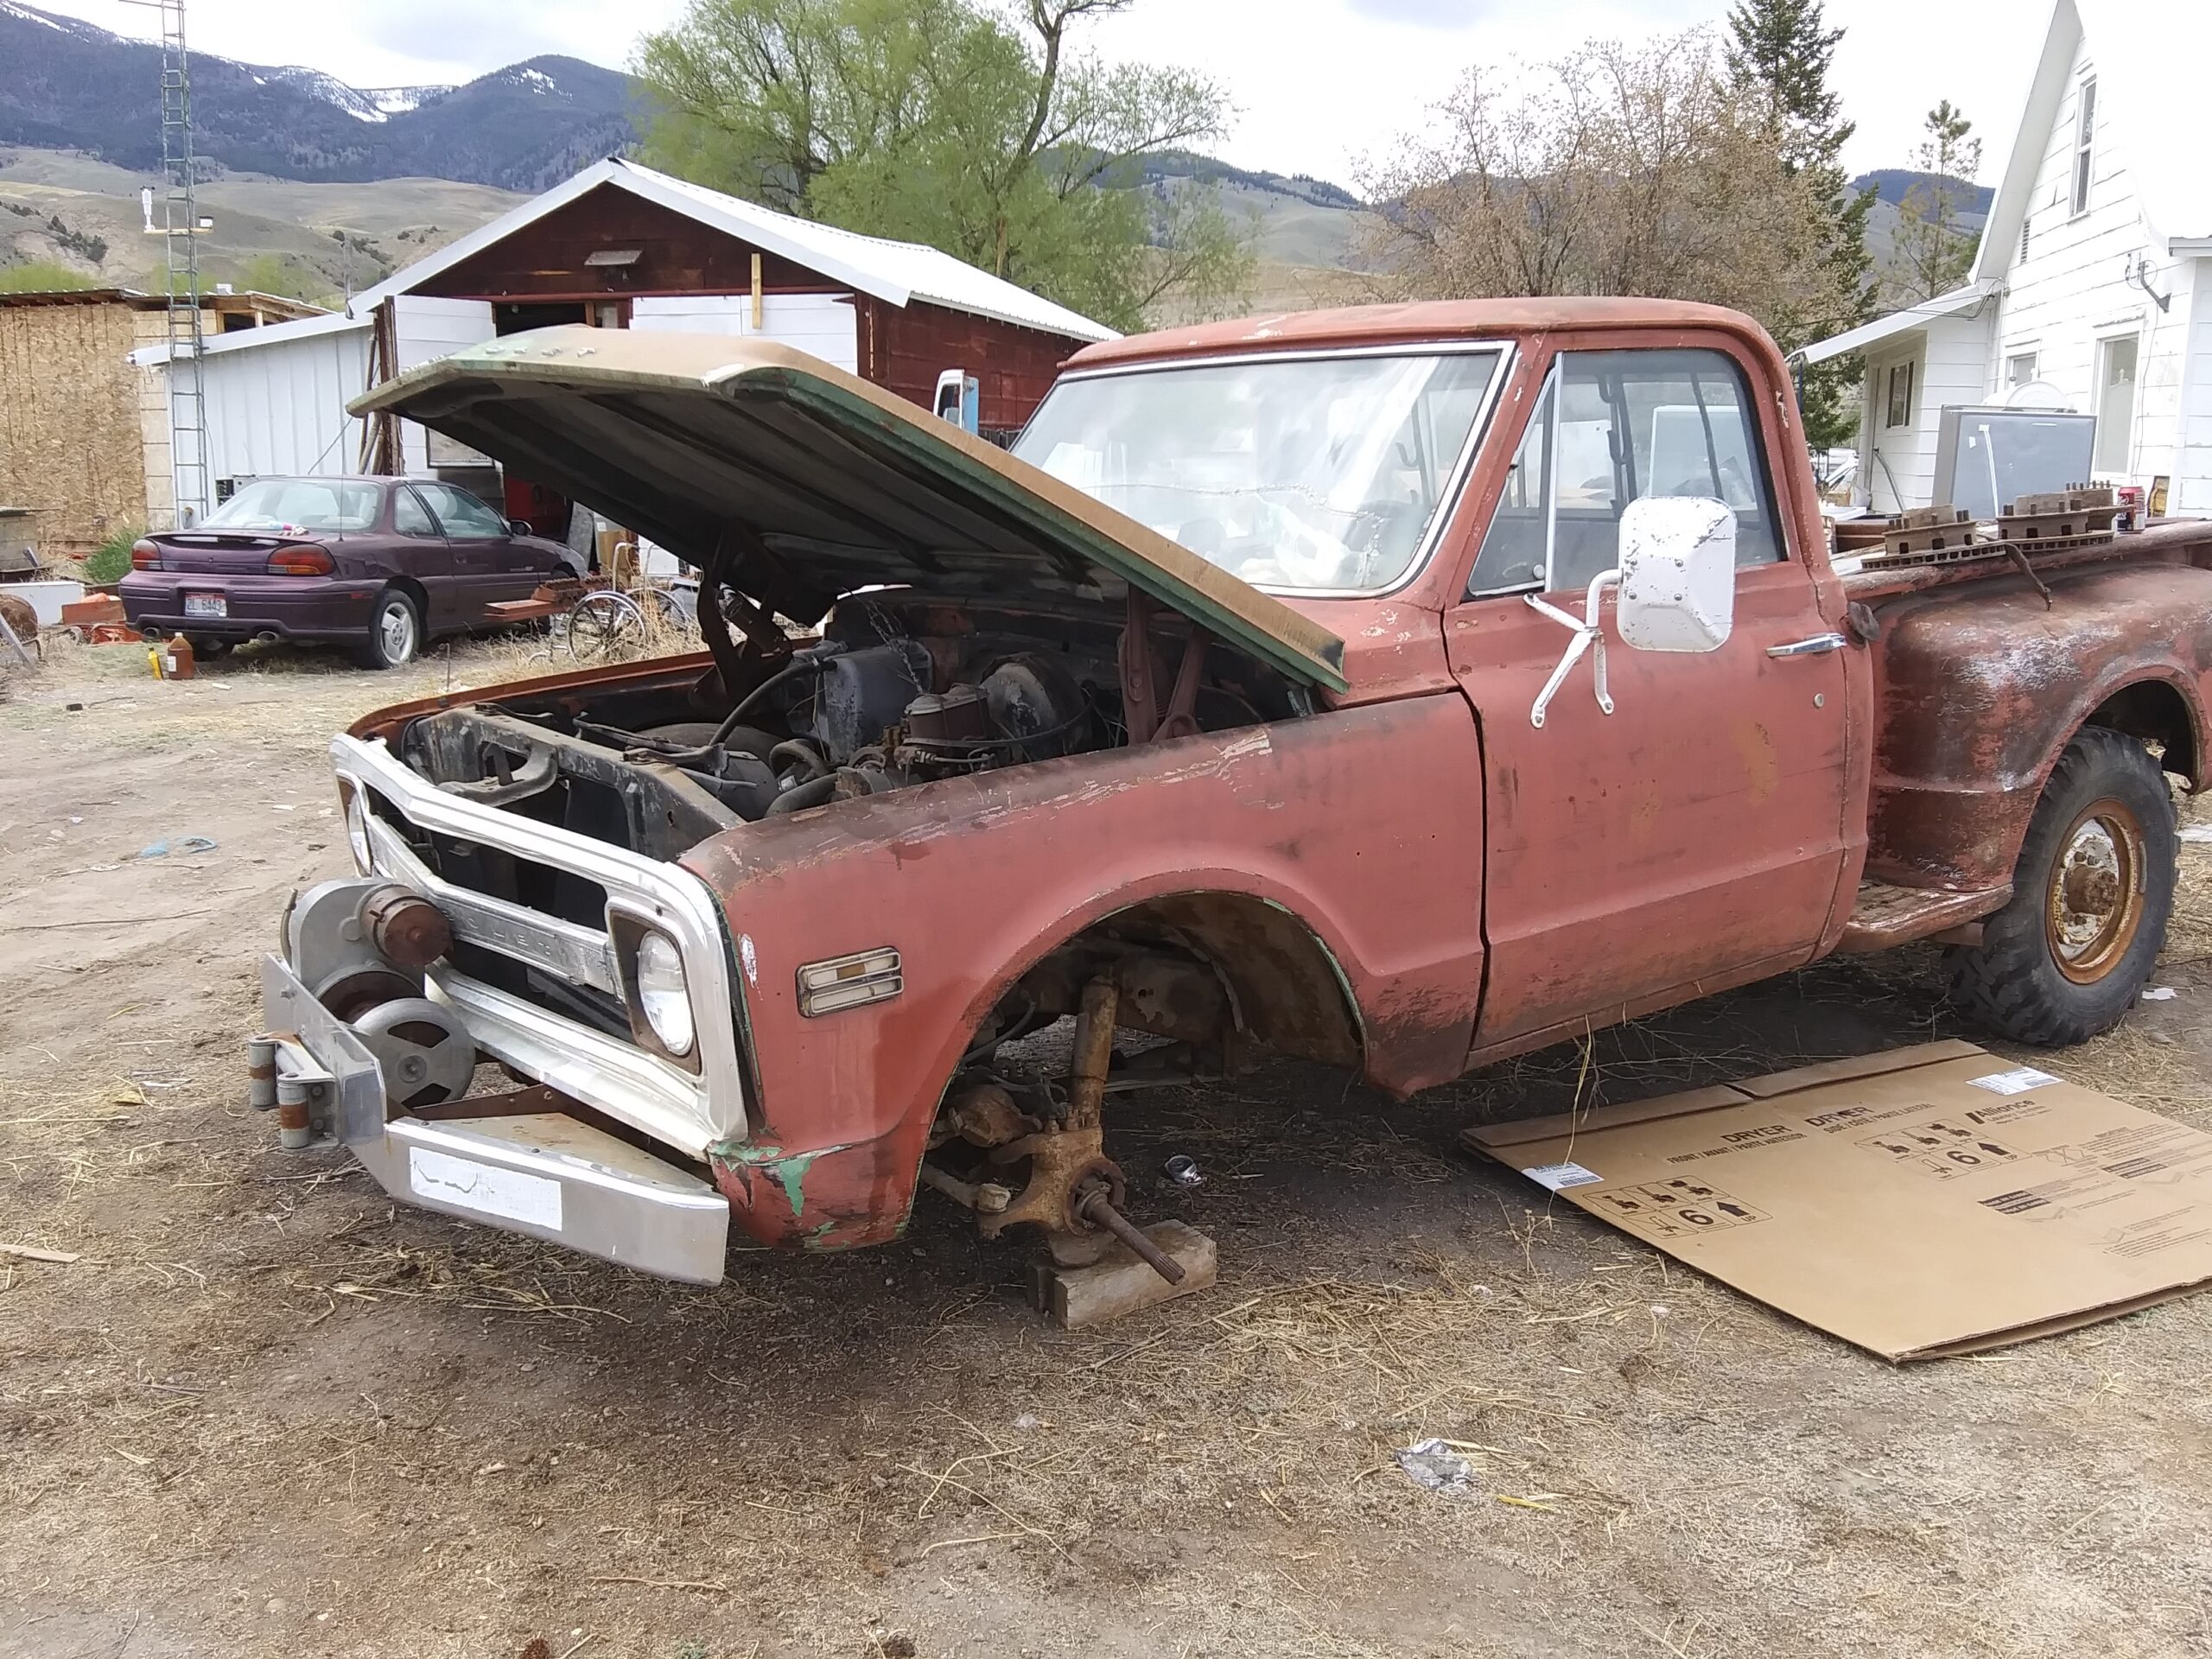
Continuing on with the take things apart phase we got the front body panels and radiator core support removed from the chassis. We lifted the front end a bit to drop the front axle and get it out of the way. There is not a lot of wiring and hoses on these old trucks which makes it nice when it comes to taking things apart. The engine comes out pretty easy when there are no fenders and core support to have to contend with.

We did run into a few issues that will make things interesting later on. One of the first obstacles was the fact that the front bumper with winch had been welded to the front ends of the frame rails. With some grinding and cutting wheel usage we were able to free the bumper from the frame but the frame rails will need some repair before we are done.


Most of the rest of the dis-assembly was pretty straight forward. We did get the donor front axle under the truck temporarily to be able to move it over closer to the shop and have a shorter distance to tools, power, and air. We built a stand for the cab to sit on while it is getting worked over. We used some old 4×4 material I had laying around to build it to just the right width so the cab sits on the rails and can be rolled forward onto its nose (firewall) or back onto the back of the cab, so as to be able to access all sides of it while prepping and repairing.

At this point we pretty much had about everything stripped down to the basic parts, we just needed to finish up all the small stuff. We removed all the rubber grommets and gaskets from the firewall and anywhere else there were old aged rubber seals or gaskets of any sort. All of this will get replaced. The next bit was more of the tedious stuff, getting all the small screws and bolts out of the cab inside and out, so pressure washing could begin.
In the next segment we will cover damage assessment and start making plans for how things are gonna get repaired and the materials needed.