How bad is it doc?
Once everything was apart into its major components, we started to survey a little closer for damage. Some things were just going to get replaced and others would need to be repaired in some way.
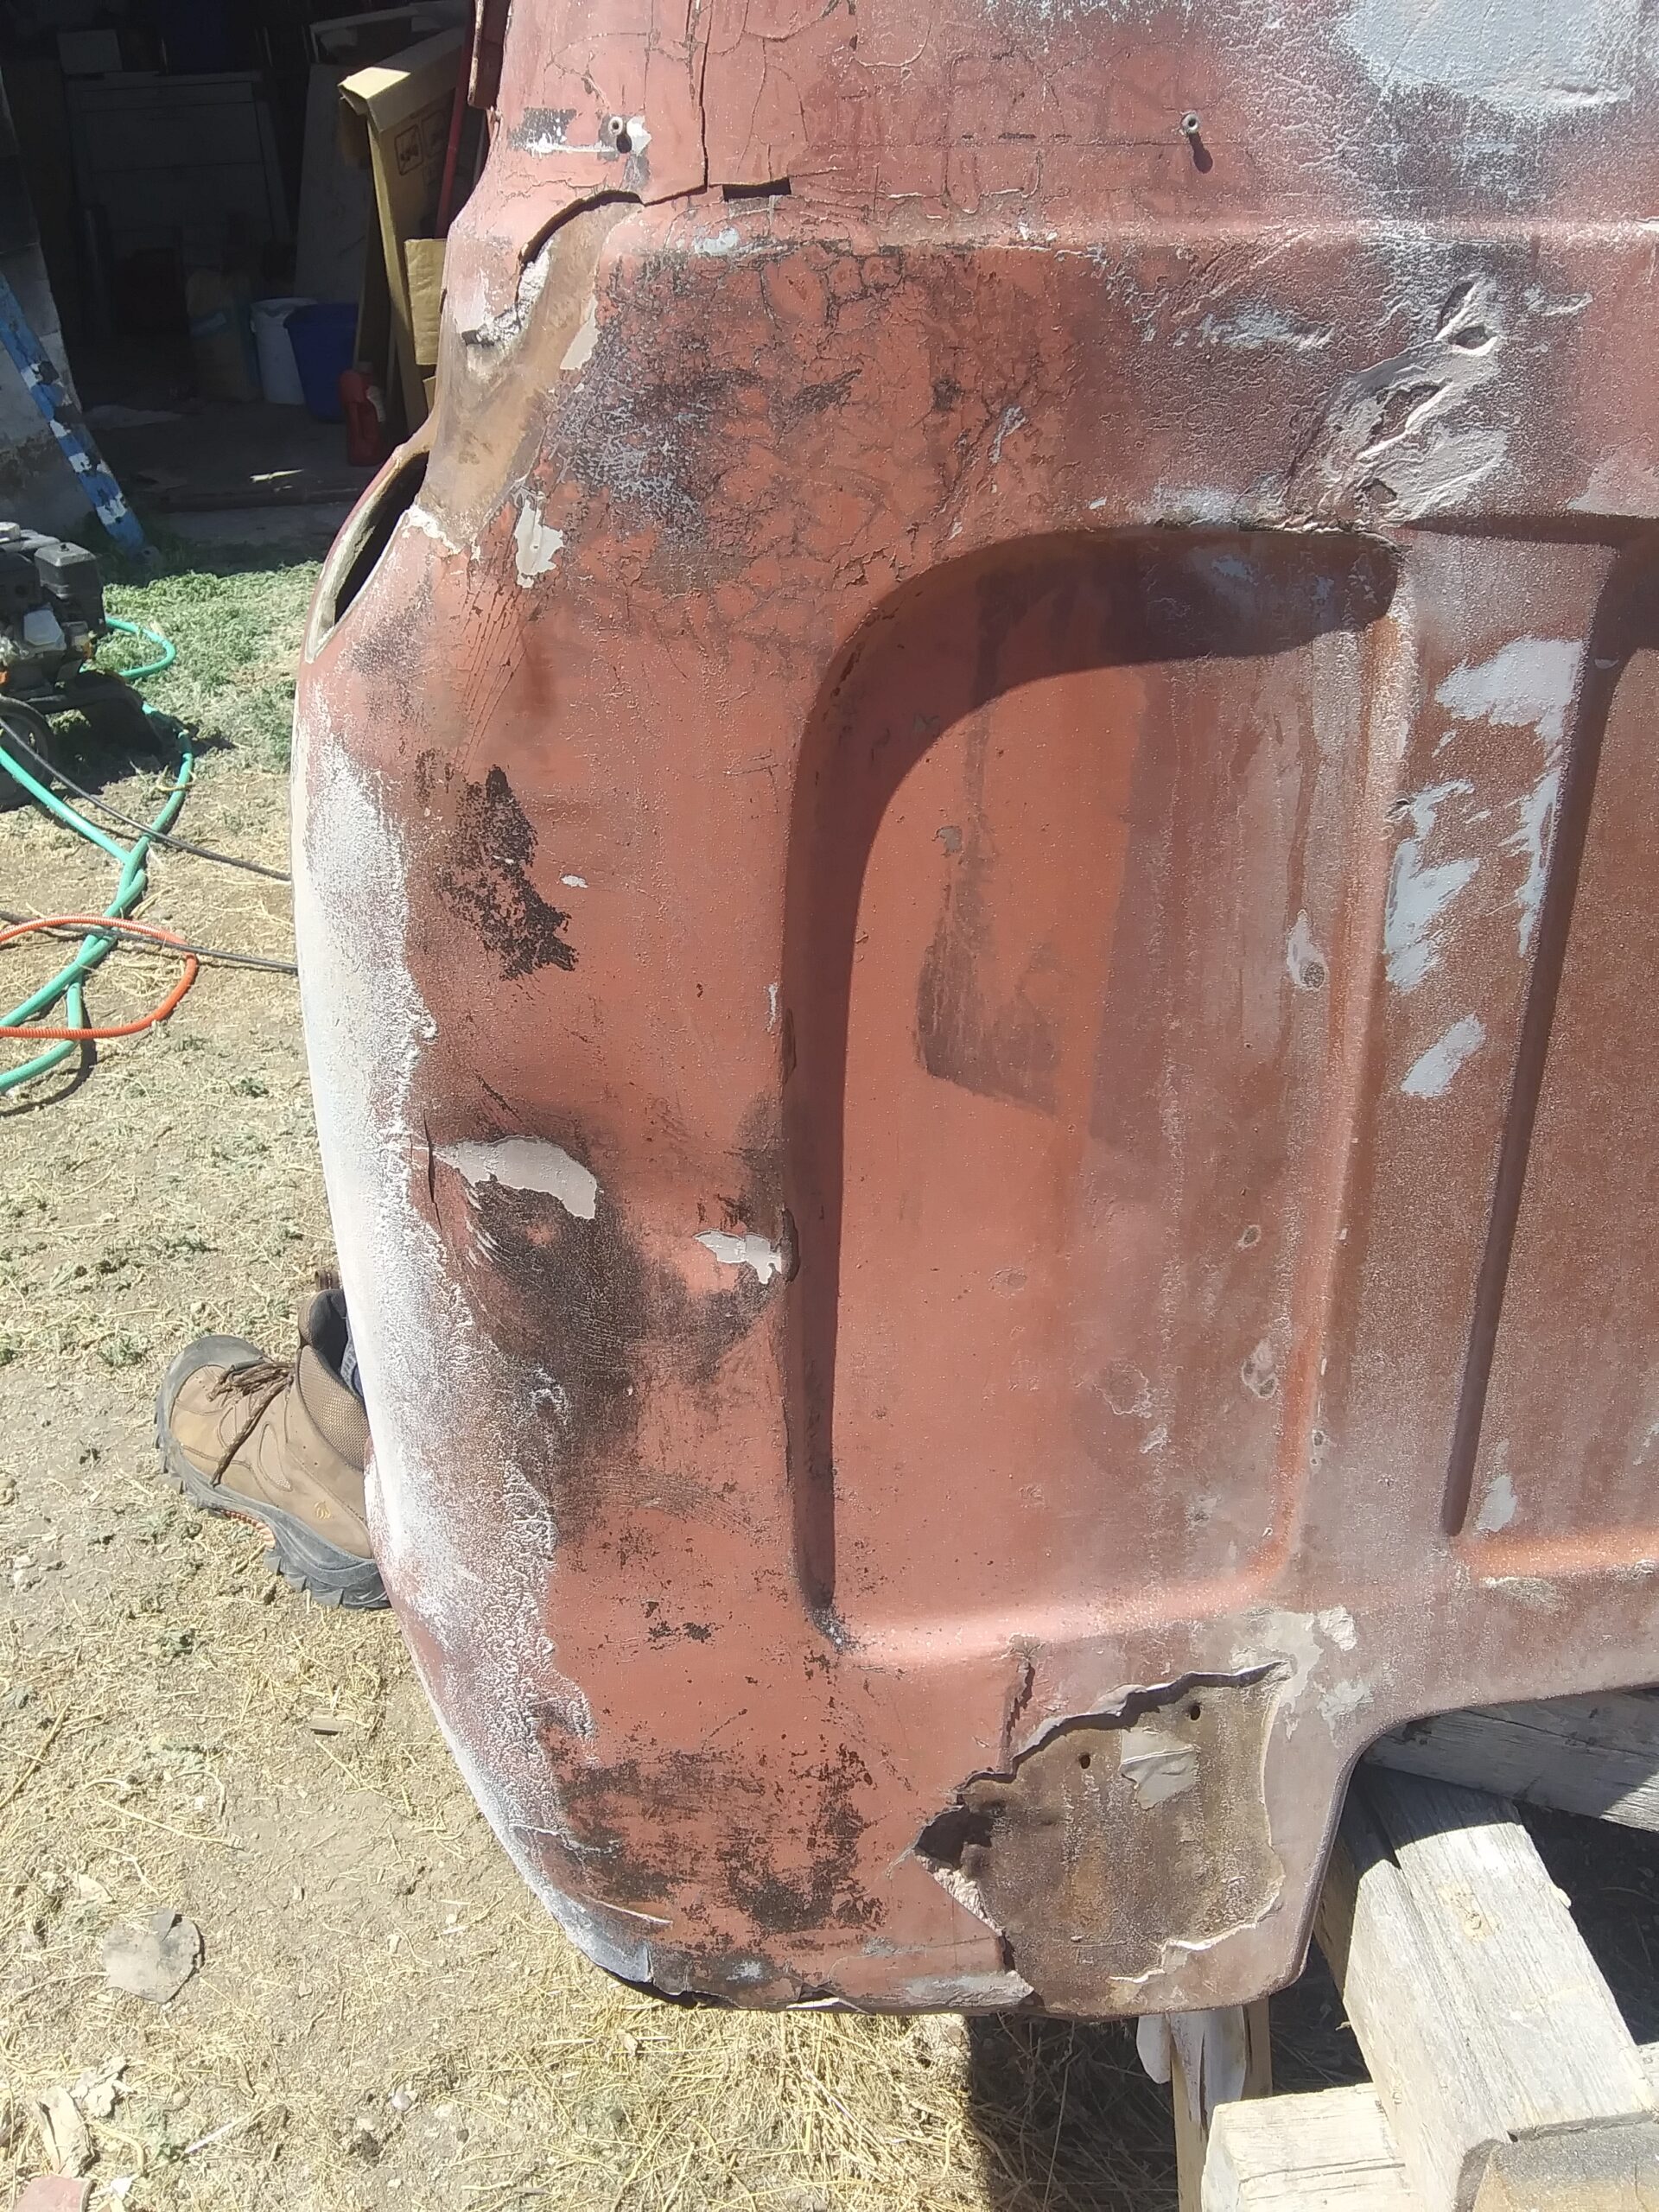
All of the body issues were easily although some not too cheaply fixed or so we hoped. Both doors had speaker mounting holes cut in them near the bottom. First major design decision here. The only stock location for sound in this truck was a single (mono) speaker mounted to the center underside of the dash. We both quickly decided this would not suffice. So do we leave the holes and clean them up and use them or patch the holes and find some other alternate location for audio components. We had already decided to remove the in cab tank and relocate the tank to between the rear frame rails. This freed up the space behind the seat to put some decent truck boxes or something of the sort. After a little more careful inspection of the doors and some aggressive probing with a screwdriver, we found lots of rust along the whole bottom of the doors. At this point we decided to get replacement panels and reskin the bottoms of both doors.

Looking to the rocker panels and rest of the cab, we also found more very weak, very thin rust spots that were easily punctured with a screwdriver. More repair panels needed. The main sections of floor in the cab seemed sound and therefore we will just prep and seal them when time comes. There was some previous body filler on the driver side back corner of the cab and roof, as well as down the back side of the cab. Not sure what had happened here but some of the body filler was pretty thick and there was still some unfixed damage, that wasn’t visible with the bed on the chassis, that will need to be fixed. So a few cab repair panels and some bottom door repair to get the cab back into shape. There will be a lot of hours involved in this but I think the payoff will be worth it when we are done. There was no major damage to the dash or firewall and most of the back of the cab was pretty straight.

The bed sheet metal is gonna take some work but so far we think most of it will be repairable, although we still haven’t gotten it all dis-assembled yet. Overall nothing that a few [hundred] hours of bodywork cant fix.
After pressure washing the frame and giving it a good once over, we had to pause for a moment, a long moment. There were significant issues with the frame that was enough to to make us wonder if we really wanted to press forward with this frame. So here was some of our thought process over the next few weeks to try and figure out which way to proceed. I know, it’s almost like a reality tv show huh? (Insert commercial for dramatic pause here). First and foremost this vehicle needs to be safe to drive when we are done. Second, as with virtually everything in life we do not have unlimited budget. Third, is there a learning experience to be had from trying to fix this current frame. Fourth, do we have any other options.
We started from the back and spent a week or so looking around to see if we could find anything else that could lend a frame that was in better shape. I have only ever know of 4 maybe 5 of these old shortbox chevys to exist in this county (ranchers don’t typically buy shotbox trucks). One of my wifes other uncles has a shortbox stepside, but is not willing to part with it. We found no other options for shortbox trucks. This left shortening a longbox into a shortbox, which is about the same as fixing what we got. Third, if we proceed with what we have in front of us it would be a learning experience for everyone cause even I would be treading new ground on this one. Second, after doing some research online we believe that repairing the current frame wont break the bank and can be done safely, which gets us back to number one. Some of the other thought factors that went into this. I’m not saying that this truck will be all show and no go, but it should live a pretty leisurely life. Is it going to see some mud and rough roads, yes. Is it going to Moab, no. It will probably never pull a trailer, or carry anything heavier than its spare tire in the bed.
So with all that typed out, here are some of the issues we are looking at.

The fronts of both frame rails are a bit hammered. This is where that massive front bumper/winch combo was welded on. There are cracks in the frame that are not easily seen in the above photo.

The stops that would keep the front leaf springs from compressing so far that the shackle eye contacted the frame were gone, and looked like they had been gone for a while for this kind of wear to take place.

This one is the passenger side frame rail. The damage is more evident in this photo than the one above of the drivers side.

Here you can see where the frame was welded before. If you look closely you can see where the weld has been ground down traversing the full depth of the frame rail running towards the top right corner of the photo. It has been fish plated on the back side of the frame but not really good. The welds on the plate are crap. There is an identical weld job on the other frame rail in the same place. These are just behind the rear cab mount on the frame.

Here you can see the rear crossmember that is bent and cracked. This was bent enough it had pulled the ends of the frame rails together about 3/4 of an inch. The front was in similar condition. It appeared that hey had had a chain wrapped around them and yanked on really hard. Hard enough in fact that the bottom passenger side of the front crossmember had broken and been yanked completely off the rivet that held it to the frame.
Well from this point on we will be starting in on the prepping and re-assembly work of putting it all back together. There is a long road ahead so lets get started.