A place to start
We decided to start with rebuilding the the steering box as a first step for several reasons. It is a smaller component, with fewer parts and for the most part just uses basic hand tools. The gearbox we will be using is a Saginaw 808. We ended up using an older style case and added some fittings that will adapt it to AN style flare fittings and hoses. I will explain more on this later. We found a good, how to identify your steering box guide, that was helpful in providing some information on the different types of steering boxes that are out there.
There is a good video of a steering box rebuild that is for a similar model steering box and has some really good info in it. We used that video and the following diagram to accomplish our rebuild.

The following text references the different parts as they are labeled in the diagram above. The above linked video uses different names for some of the parts but the items are similar and the process is the same.
Opening up the box
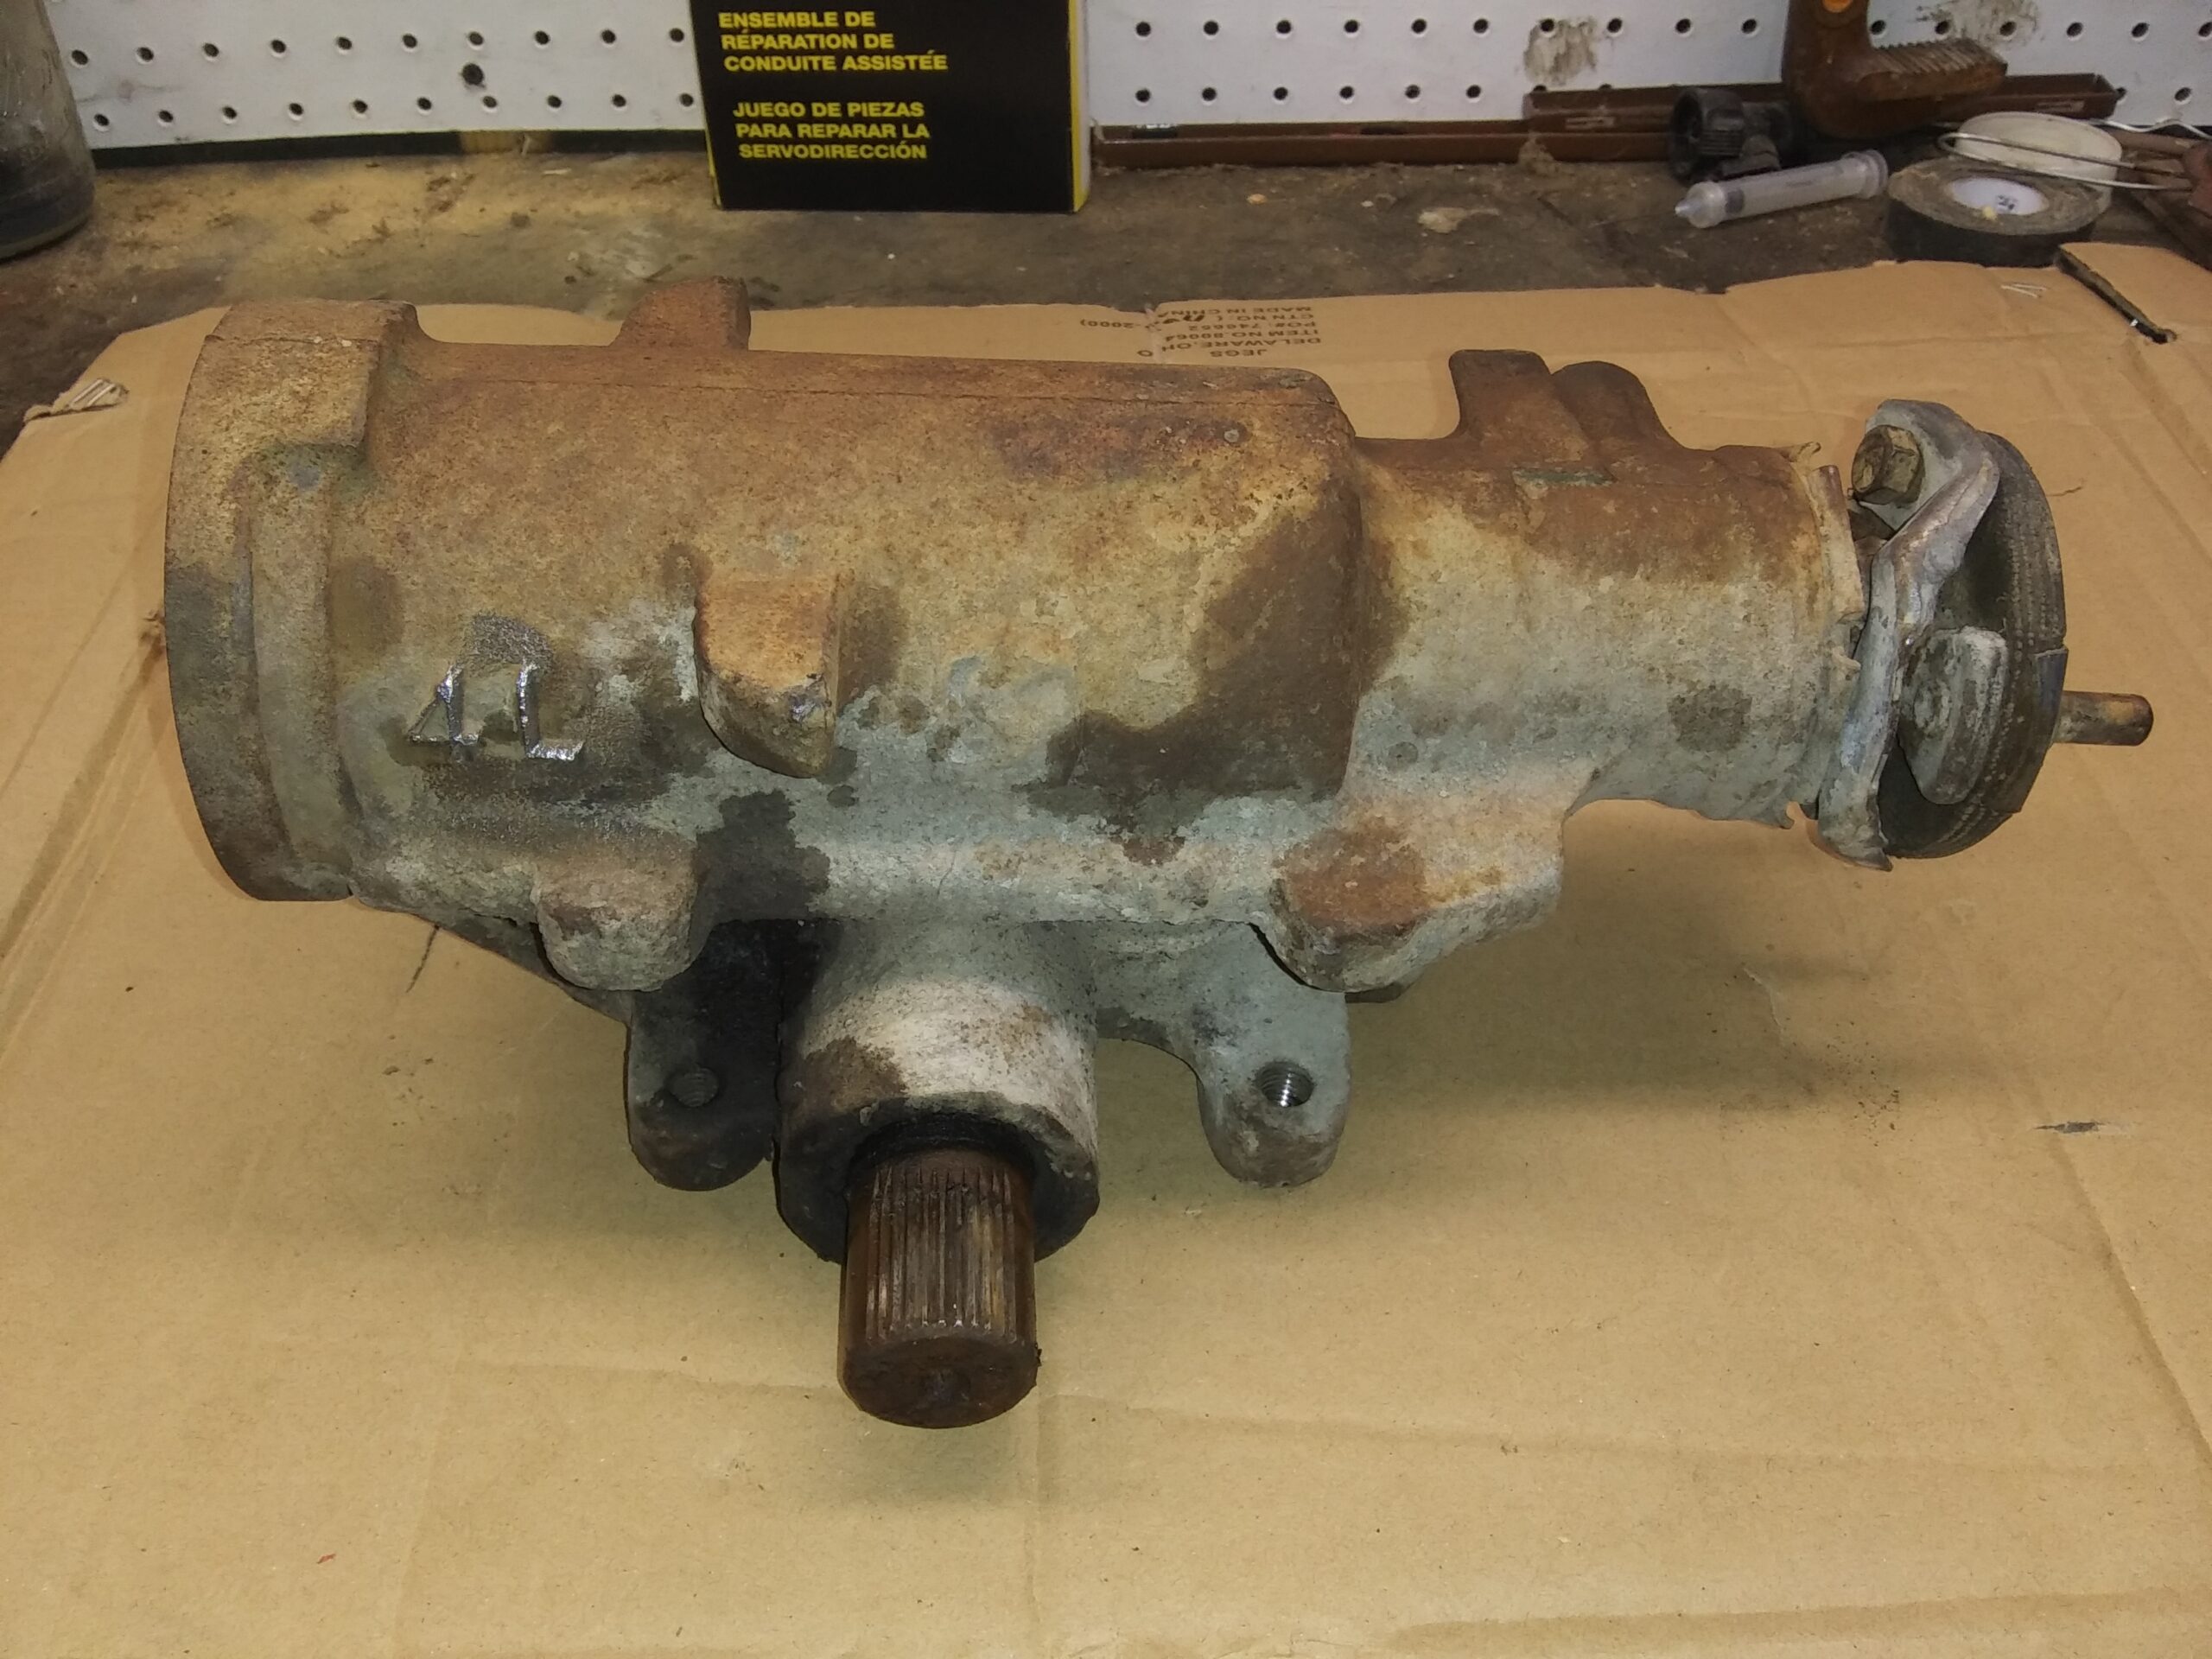
Dis-assembly of the steering box is pretty simple, unless things are really rusted together. The one we started with was not too hard to get apart. To start with a large pair of channel-locks were used to remove the adjuster plug lock nut on the end of the box. Snap ring pliers and a spanner wrench that will fit the pin holes in the adjuster plug will make taking this apart a little easier. To remove the pitman shaft, you need to remove the 4 – 3/8″ bolts from the housing side cover. You may need to turn the stub shaft to center the gears on the pitman shaft so it will come out of the case. This can be done by using a small pair of vise grips and lightly clamp the shaft to turn it. Be careful though you do not want to damage the splines on the shaft by gripping to hard with the vise grips. You can also use the steering shaft coupling or rag joint to turn the stub shaft.

Once you remove the pitman shaft you can remove the end plug retaining ring. This can be done by rotating the housing around until you find the hole near the edge of the housing. Place a pick or small screwdriver in this hole to dislodge the retaining ring from its groove. We have done a short video explaining this. This will make it easier to pry the ring out with a screwdriver or grab it with a pair of pliers to pull it out. You generally do not need to worry about saving the retaining ring as a new one is usually included in a new rebuild kit.

At the other end of the housing there is a retaining ring around the stub shaft. This will require the use of a pair of snap ring pliers to get it off. Once this ring is removed then you should be able to remove the adjuster plug and then all the internal parts should come out of the case. If you turn the stub shaft it should unscrew out of the piston allowing the parts to be removed. When removing the piston be careful as there are ball bearings that will fall out and you may need to reuse these.

Other then separating all the small bearings and washers and seals and such, that pretty much completes the major dis-assembly of the steering box. It is at this point we took the case and major components to the parts washer and got everything cleaned up. The internal parts were washed and then wiped down ad laid out on the bench for re-assembly. The case was at this point sandblasted and prepped to be powder coated.

Making it shiny
After sandblasting we wiped the case down with some degreaser. We have used Simple Green and WD-40 degreaser, both with good results. We put plugs into the fittings where the fluid lines go to keep the powder coat from getting into the threads. High temperature tape was used to cover the holes where the pitman shaft goes through. To get a proper coating of powder we needed to hang the case making all sides accessible. To do this we ran a dowel through the long axis of the case and then hung that from some hangers we had fashioned in our shop. For powder coating you have to attach an electrical lead from the powder coat gun to the part. Keep this in mind when designing hangars.

We will cover the powder coating process more in depth in another post. Once the case was coated, baked, and cooled it was ready for re-assembly. The rebuild kit we got off of amazon contained all new seals, bearings, o-rings and snap rings. Where ever you get your rebuild kit, make sure you get one to match the size of the stub shaft for your steering box.
Getting all those little parts back in the box
Re-assembly is pretty straight forward. One thing to watch out for is when re-installing the small white teflon seals on the pistons, don’t stretch them too much. They are kind of delicate and they may break or stretch to the point it will be hard to get the pistons back in the case. Applying some light grease or oil to the bearings and friction surfaces will help all the parts move easier until the unit is hooked back up and gets filled with steering fluid.
After everything was back together we had got some fittings to fit the 5/8″ and 11/16″ inverted flare fitting in the case that adapted them to 6AN fittings that are common in the automotive industry. We have thoughts of installing a power steering cooler and this will make plumbing that in a bit easier.