As was noted in the History and moving forward page, we got this truck with an Eaton 3/4 ton (HO52). For ease of finding parts, cost, and the fact we don’t need a 3/4 ton, we are taking the GM 12 bolt rear out of a 69 GMC to use in this project.
As with all the other parts we will start with the dis-assembly, to see if there are any major issues that need to be fixed before moving forward. After we dropped the axle out of the donor truck we loosened the differential cover to drain the oil. After the oil finished draining we removed the cover. Once inside a quick inspection shows no major damage or wear. Most of the parts inside the differential will be replaced as we rebuild it anyway.

If you turn the ring gear and differential around, at one point you will see a small retaining bolt, that hold in the cross shaft. Removing this bolt will allow you to then remove the cross shaft. If you have not removed the brake drums from the ends of the axles now would be a good time to do that. Once the cross shaft is removed, you should be able to push on the flange end of the axle shaft and move it slightly into the axle housing. This will allow you to remove the C-clip that is on the end of the axle shaft. This C-clip is what keeps the axle shaft from sliding out of the housing. The C-clips can usually be removed with a magnet or long pair of needle nose pliers.
Once the C-clips are removed you can pull on the flange end of the axle shaft and remove the axles from the housing. Next you need to remove the 4 bolts that are holding the bearing caps on. Once the bearing caps are removed you should be able to pull the differential out of the housing. You may need a pry bar of some sort to get it pop loose. If it is in really tight, it may be a good idea to leave the 4 bolts threaded into the caps slightly, while trying to pry it free. That way if it breaks loose it wont fall to the floor or on your foot. Once loosened remove the bolts and caps and remove the differential.
Removing the pinion nut can be a challenge sometimes. We have found that an impact gun of some sort is usually the best option for getting this done. After the pinion is out then there should just be the axle bearings and seals, and pinion bearing races left to remove. The easiest way we have found to remove the axle shaft seals is with a seal puller. They will generally pop right out. The bearings are usually best removed with a axle bearing puller. Being able to pull straight out of the axle tube makes removal easier.
Getting the pinion bearing races out is generally a bit trickier. If you have a slide hammer, then sometimes with the right attachment you can get behind the bearing race and pull it out from behind. You do not want to damage the side walls where the bearing race contacts when seated, so these need to be removed carefully. If you do not have a slide hammer then a long punch can generally be used if careful enough to tap the bearings out from the back sides. If this is the method used tap on one side of the bearing race a little and then the opposite side of the race. This will keep the race from twisting and binding and possibly damaging the seat on removal.
If the axle housing is to be cleaned up and or painted, this would be a good time to start that. There are many different methods used to get things cleaned up. If there is thick grease or caked on dirt, it may be best to try and use a screwdriver, putty knife, or some sort of scraper to remove the bulk of the grease or dirt. Once the axle is mostly cleaned of large chunks of contaminates, a pressure washer may be used to get the rest of the dirt and grease off. Some sort of de-greaser, such as WD-40 degreaser, or Simple Green may be used to get some of it removed. We have used a combination of pressure washer, wet sandblasting (pressure washer with sandblaster attachment), and dry sandblasting, to get things down to bare metal where they can be painted or otherwise refinished. One thing to keep in mind with the pressure washing or wet blasting is as the parts dry, you will usually get some flash rust that will need to be scuffed off prior to painting or powder coating.
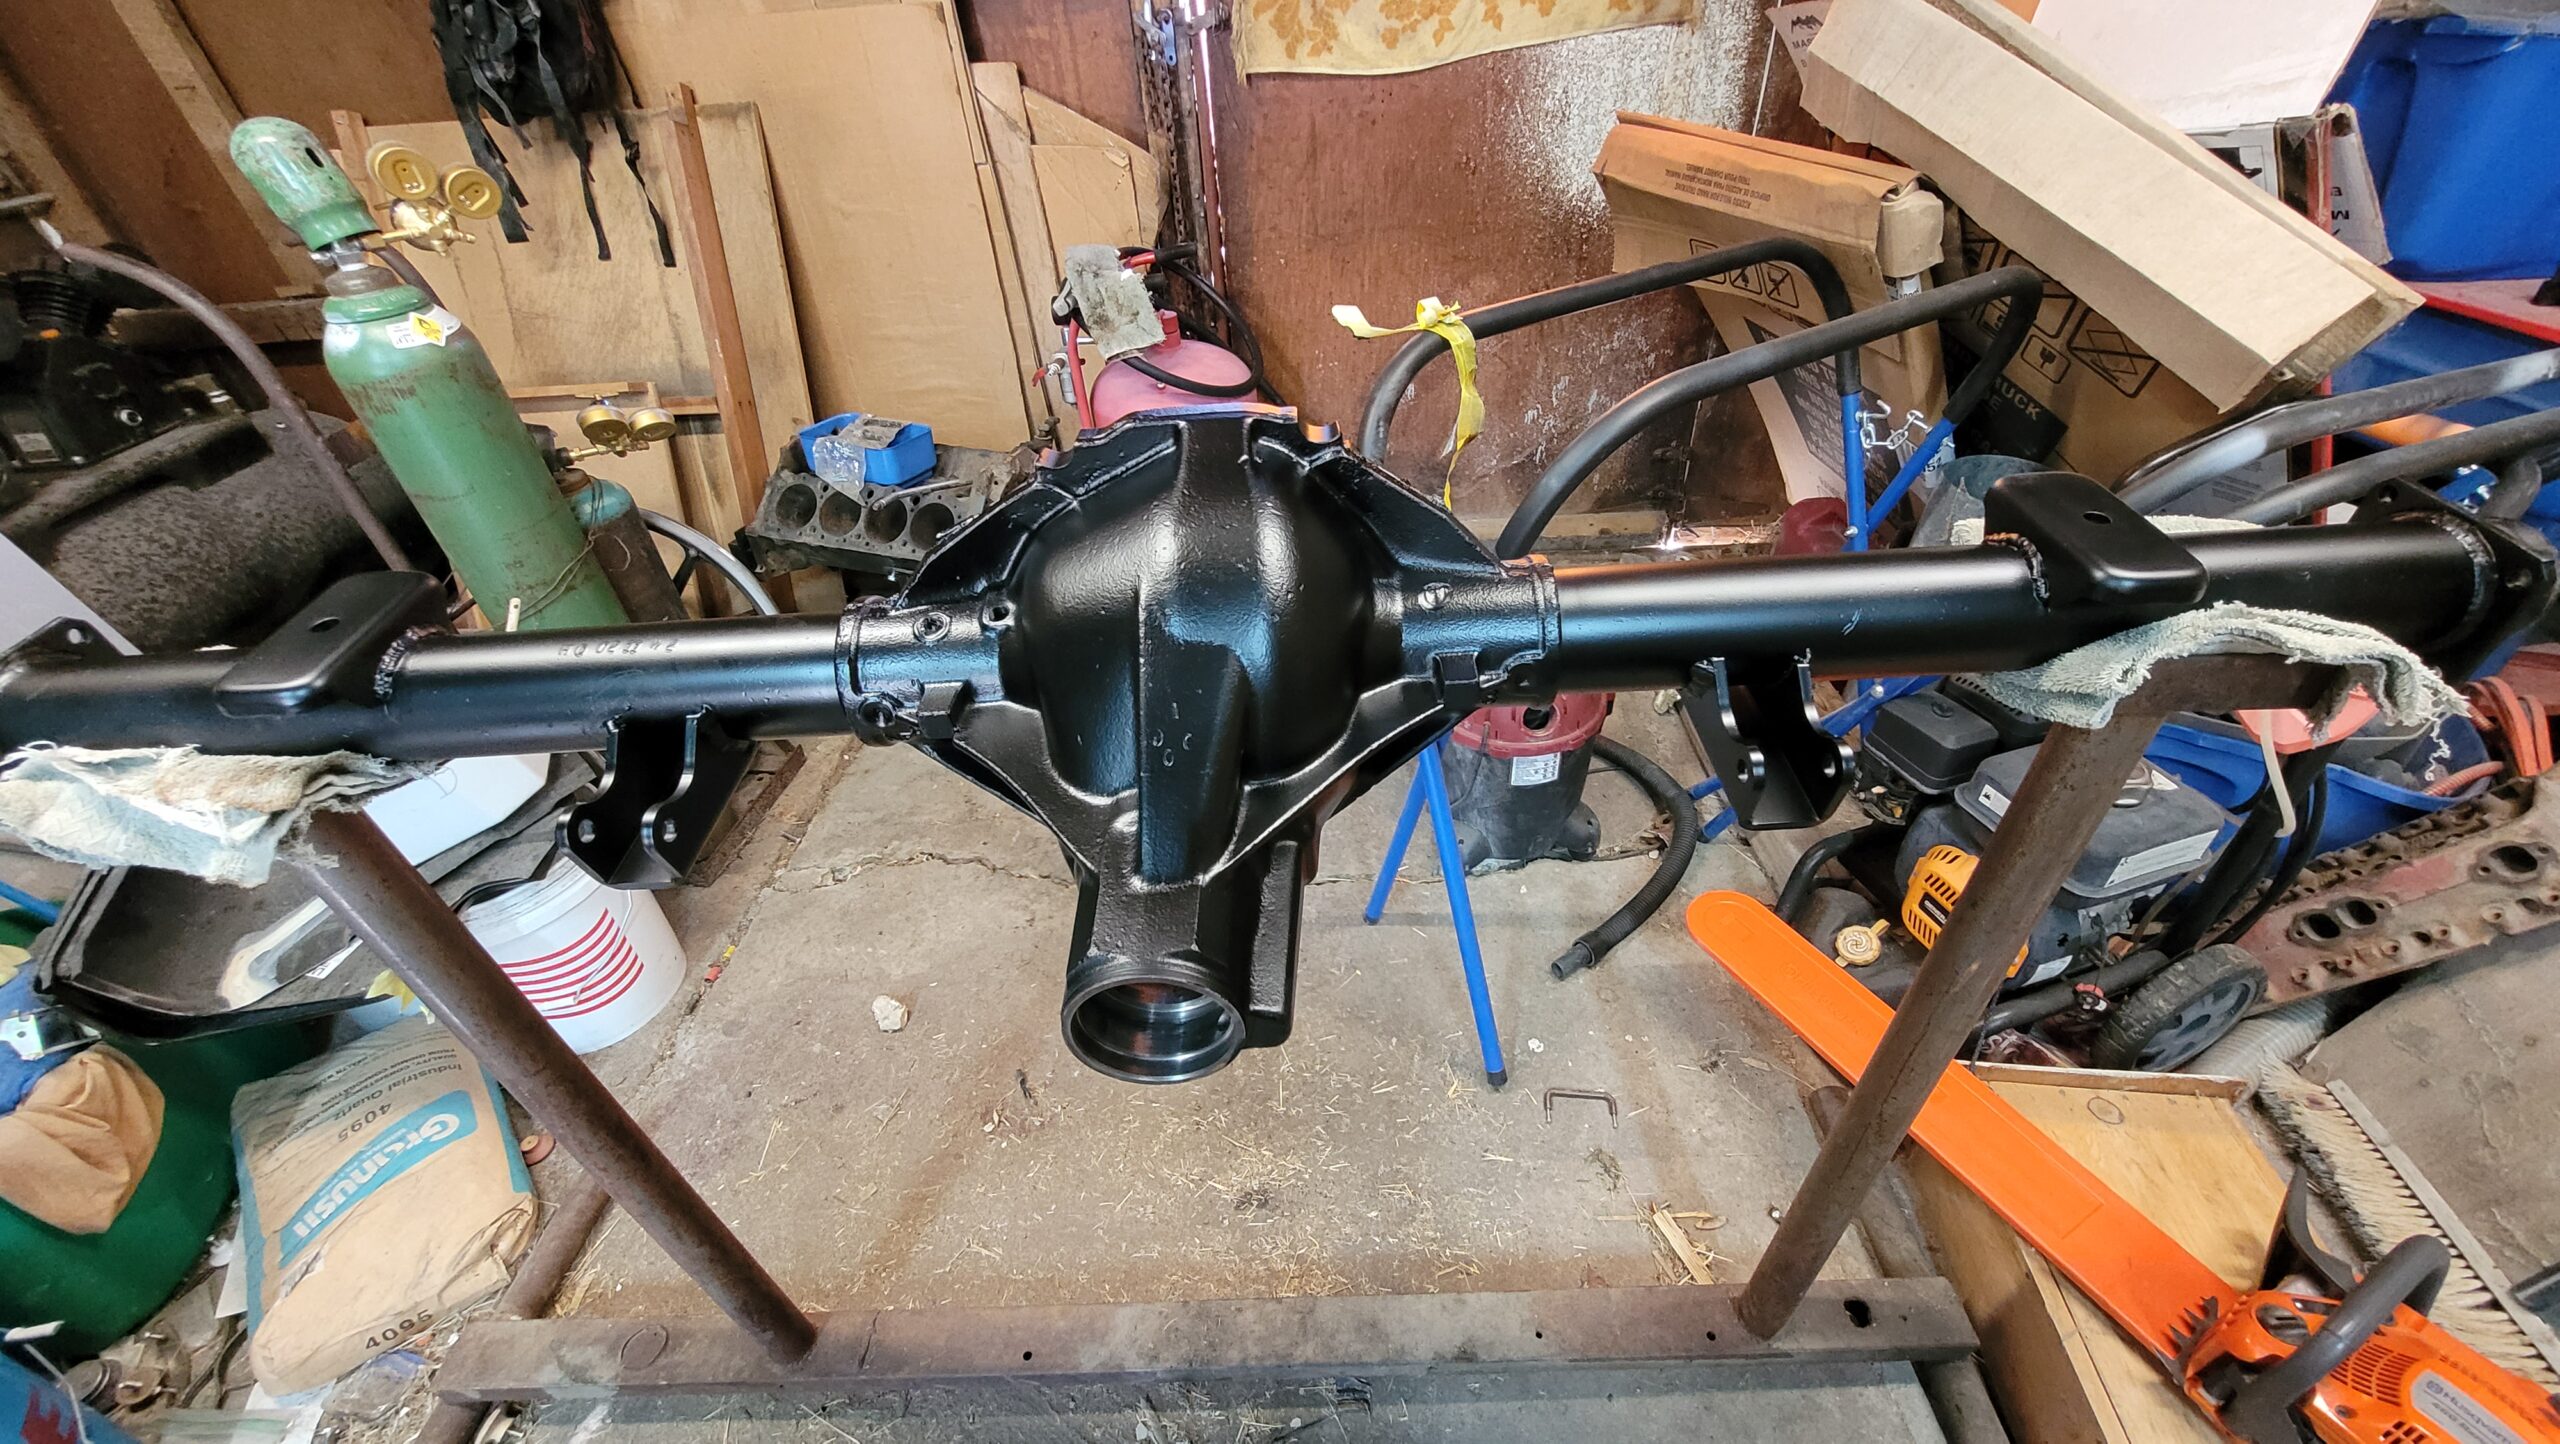
After a good cleaning, it is easier to do a thorough inspection for damage. Our axle housing had several issues. First the tops of the spring perches were smashed in, kind of dished like the leaf springs had come loose and the centering pin was smashing the top of the spring perch in from not being centered. We did not like the look of this and the decision was easy that these needed to be replaced. We bought new spring perches for a 3″ axle tube, and then ground the old ones off and welded the new ones on. At the same time one of the shock mounts was badly damaged and poorly repaired and the same decision was made to replace them as well. The new shock mounts were made of a bit thicker material then the originals so they should be a bit more durable.


While we were waiting for the new perches and mounts to arrive we went ahead and prepped and painted the axle housing. We used Eastwood chassis black primer and chassis black paint. Once we received the new mounts, we used a small sanding disc to grind off a small amount of paint where the perches and shock mounts would be welded back in place. Doing it this way made it easier to get a good coat of paint on the axle housing underneath the spring perches and inside the tight space of the shock mounts. Once we had the new parts welded to the housing, a quick touch up made it look good as new.

Well that pretty much wraps it up for this episode. In Part 2 we will begin the re-assembly process with our new ring and pinion gears, bearings, seals, and the works. So check back soon to see us finish up the rear axle.