The gears that make it go
The transmission we are using in this build will get the same treatment as all the other components. First we will do a complete teardown of the transmission to see what parts can be reused and which parts will need replacing.
We had removed the shifter before removing the transmission from the truck so once we got it on the bench it was time to remove the top. Removing the bolts from the top cover will allow its removal. If you haven’t drained the oil out of the transmission you may want to do that now. This gear box is pretty heavy, but there is a drain pug that can be removed from the bottom of the transmission, or if you have the top removed you may tip it on its side and catch the oil in a pan. Once the oil is drained we remove the side covers. This will allow easier access to the gears and shafts to get everything dis-assembled properly.
Getting the shaft out
Removing the bolts from the front nose cone of the unit allows for the removal of the input shaft. This can be tricky but there is a flat spot ground on part of the shaft that, when aligned properly will allow for the shaft to be removed. To remove the main shaft we need to remove the bearing at the rear of the transmission. This may be easier said than done sometimes. We tried several different pullers and other assorted tools with no luck. We finally ended up using a Dremel tool and a cutoff wheel to carefully cut away part of the outer race which then allowed the removal of the balls from within the bearing. This allowed the removal of the outer race. Once that was removed we were able to maneuver the main shaft out of the case and then remove the inner part of the bearing with a puller.


Removing the bearings at both ends of the counter shaft will allow for it to be removed as well. This should just leave the reverse idler gear. The pin that holds this gear will need to be driven out of the case. Generally this can be done by using a long punch, and tapping on the exposed end of the pin inside the case to drive it out. Once that was complete we were ready to start cleaning the case and getting it ready to be powder coated.
Bath time
Some are worse than others but this transmission was particularly bad when it comes to being dirty. The years worth of grease and dirt would prove a bit of a challenge to get it all off to the point that the case could be powder coated. First we used screw drivers and scrapers to get the really big chunks removed. Progressively smaller tools and the occasional wire brush got a good share of the rest. Once in the parts washer it took some major scrubbing and a bit of soaking to get what the scrapers left behind. The inside was much easier than the outside to get clean.
Once we had things pretty well cleaned up in the parts washer we moved into the blast cabinet to give it a good once over with the sand blaster. This got rid of any small bits of grease and dirt that were left and removed any rust scale not cleaned off in the parts washer. The sandblaster also made it much easier to clean in all the little nooks and crannies that are on this transmission case. There are lots of little tight pockets and corners that sand blasting makes it much easier to reach.

Once we had the case all cleaned up inside and out we sprayed it down with some simple green to get rid of any grease or dust that may cause the powder not to stick.
Time for a powder
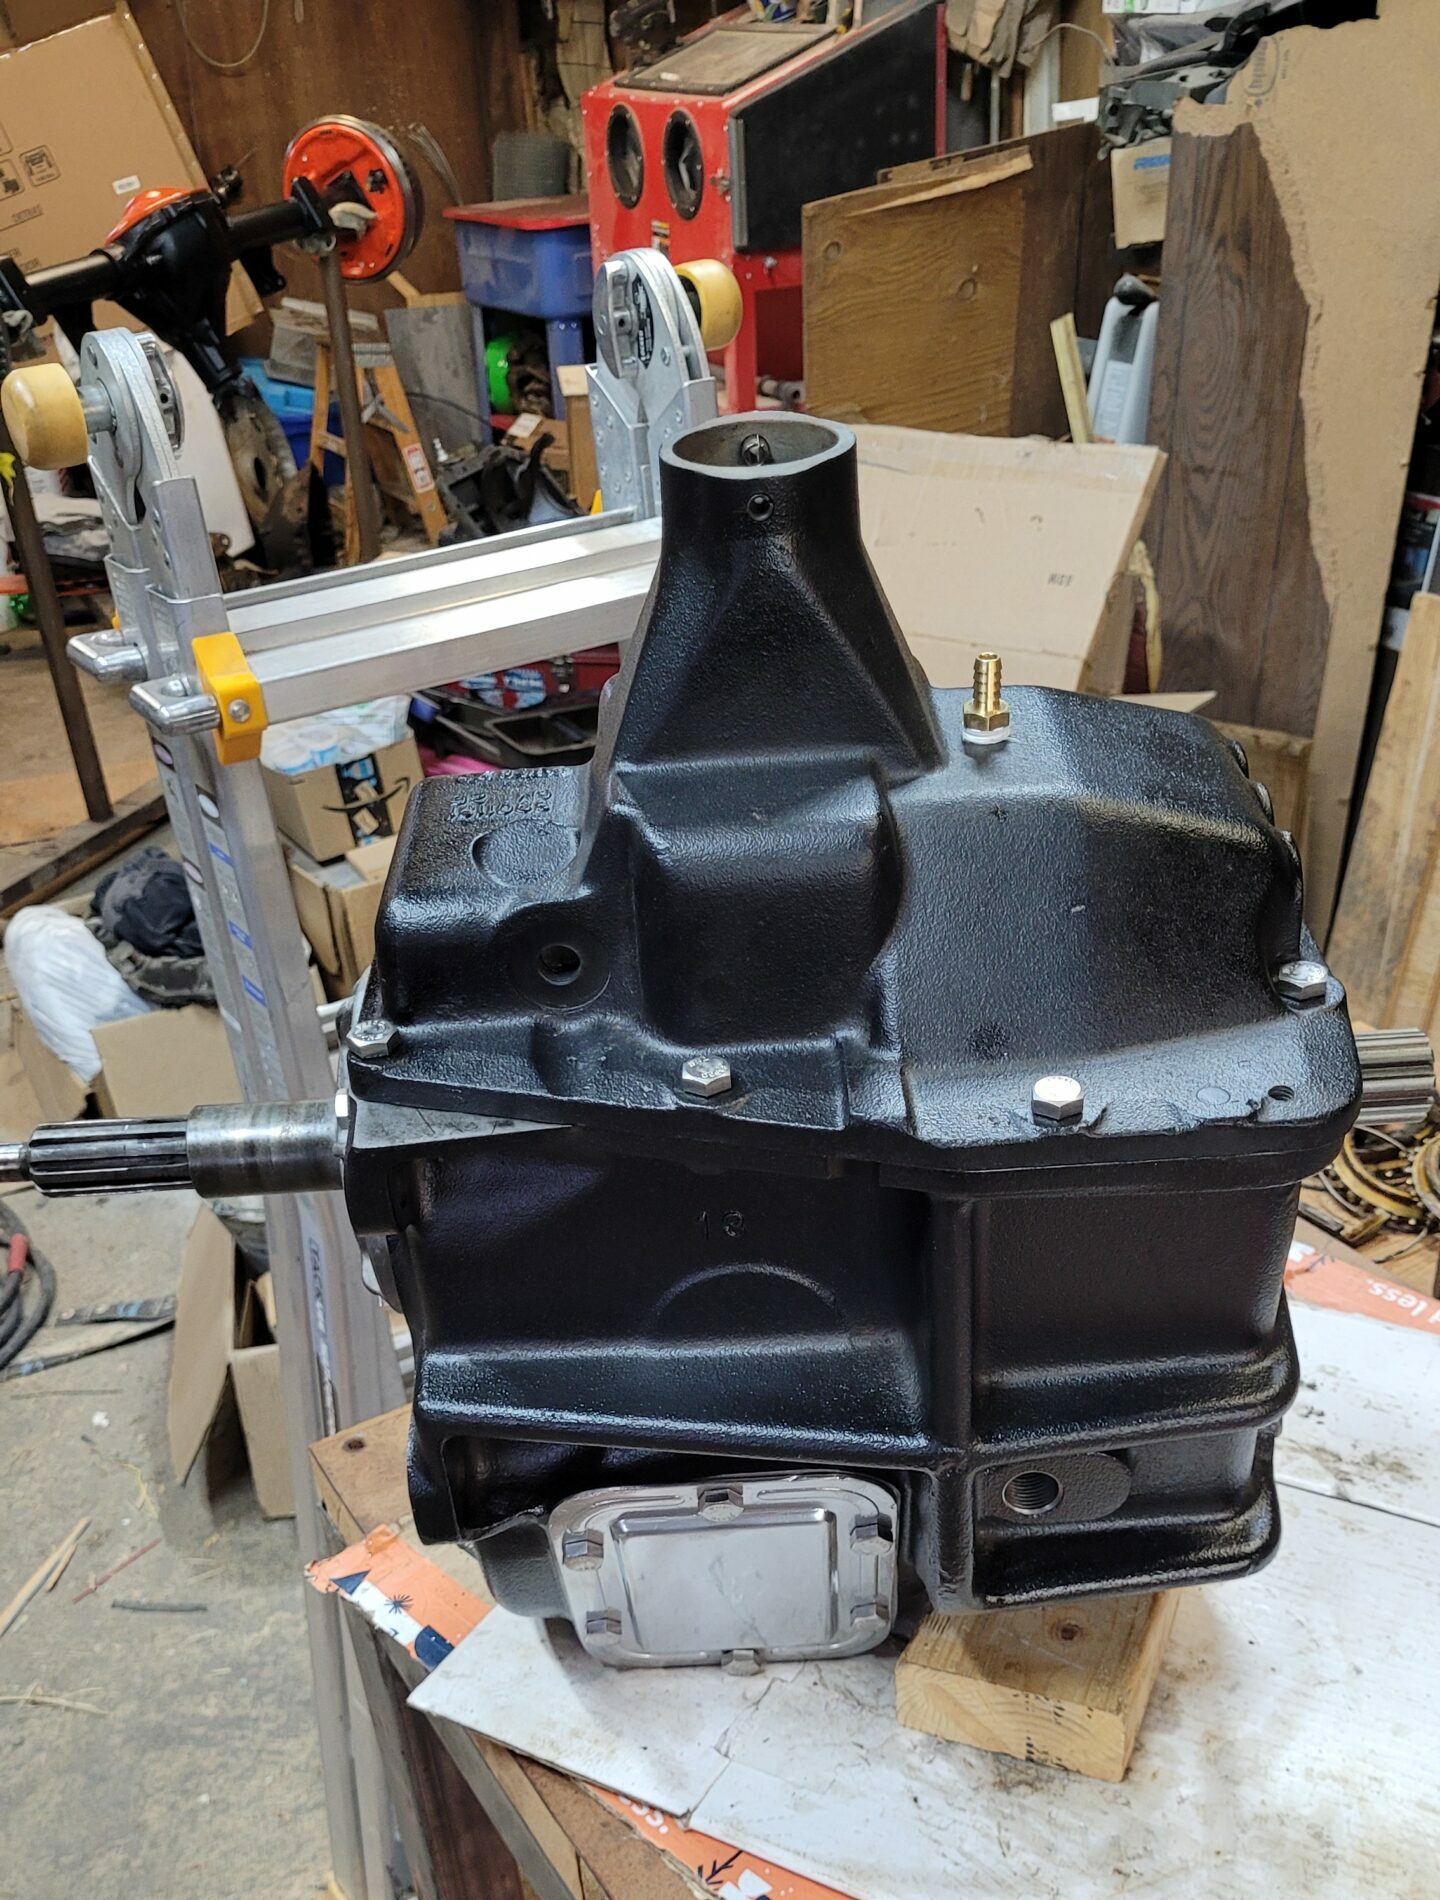
With the case all cleaned up we were ready to give it a nice coat of powder. We used Prismatic Powders Silk Satin Black (HSS-1336). We have used this powder on some other parts and have done some test samples with it, and it has a really nice look when finished. Before applying the powder we wipe down the case with a clean rag and some acetone to remove any last bits of stuff that might mess up the finish. Then coat, bake at 400 degrees for 15 or so minutes, and cool. There you have a finished case ready to re-assemble with all new parts.

We will do a more in depth post on powder coating and the process involved at some point in the future. For now we will pause and pick up the re-assembly of the transmission in the next post.