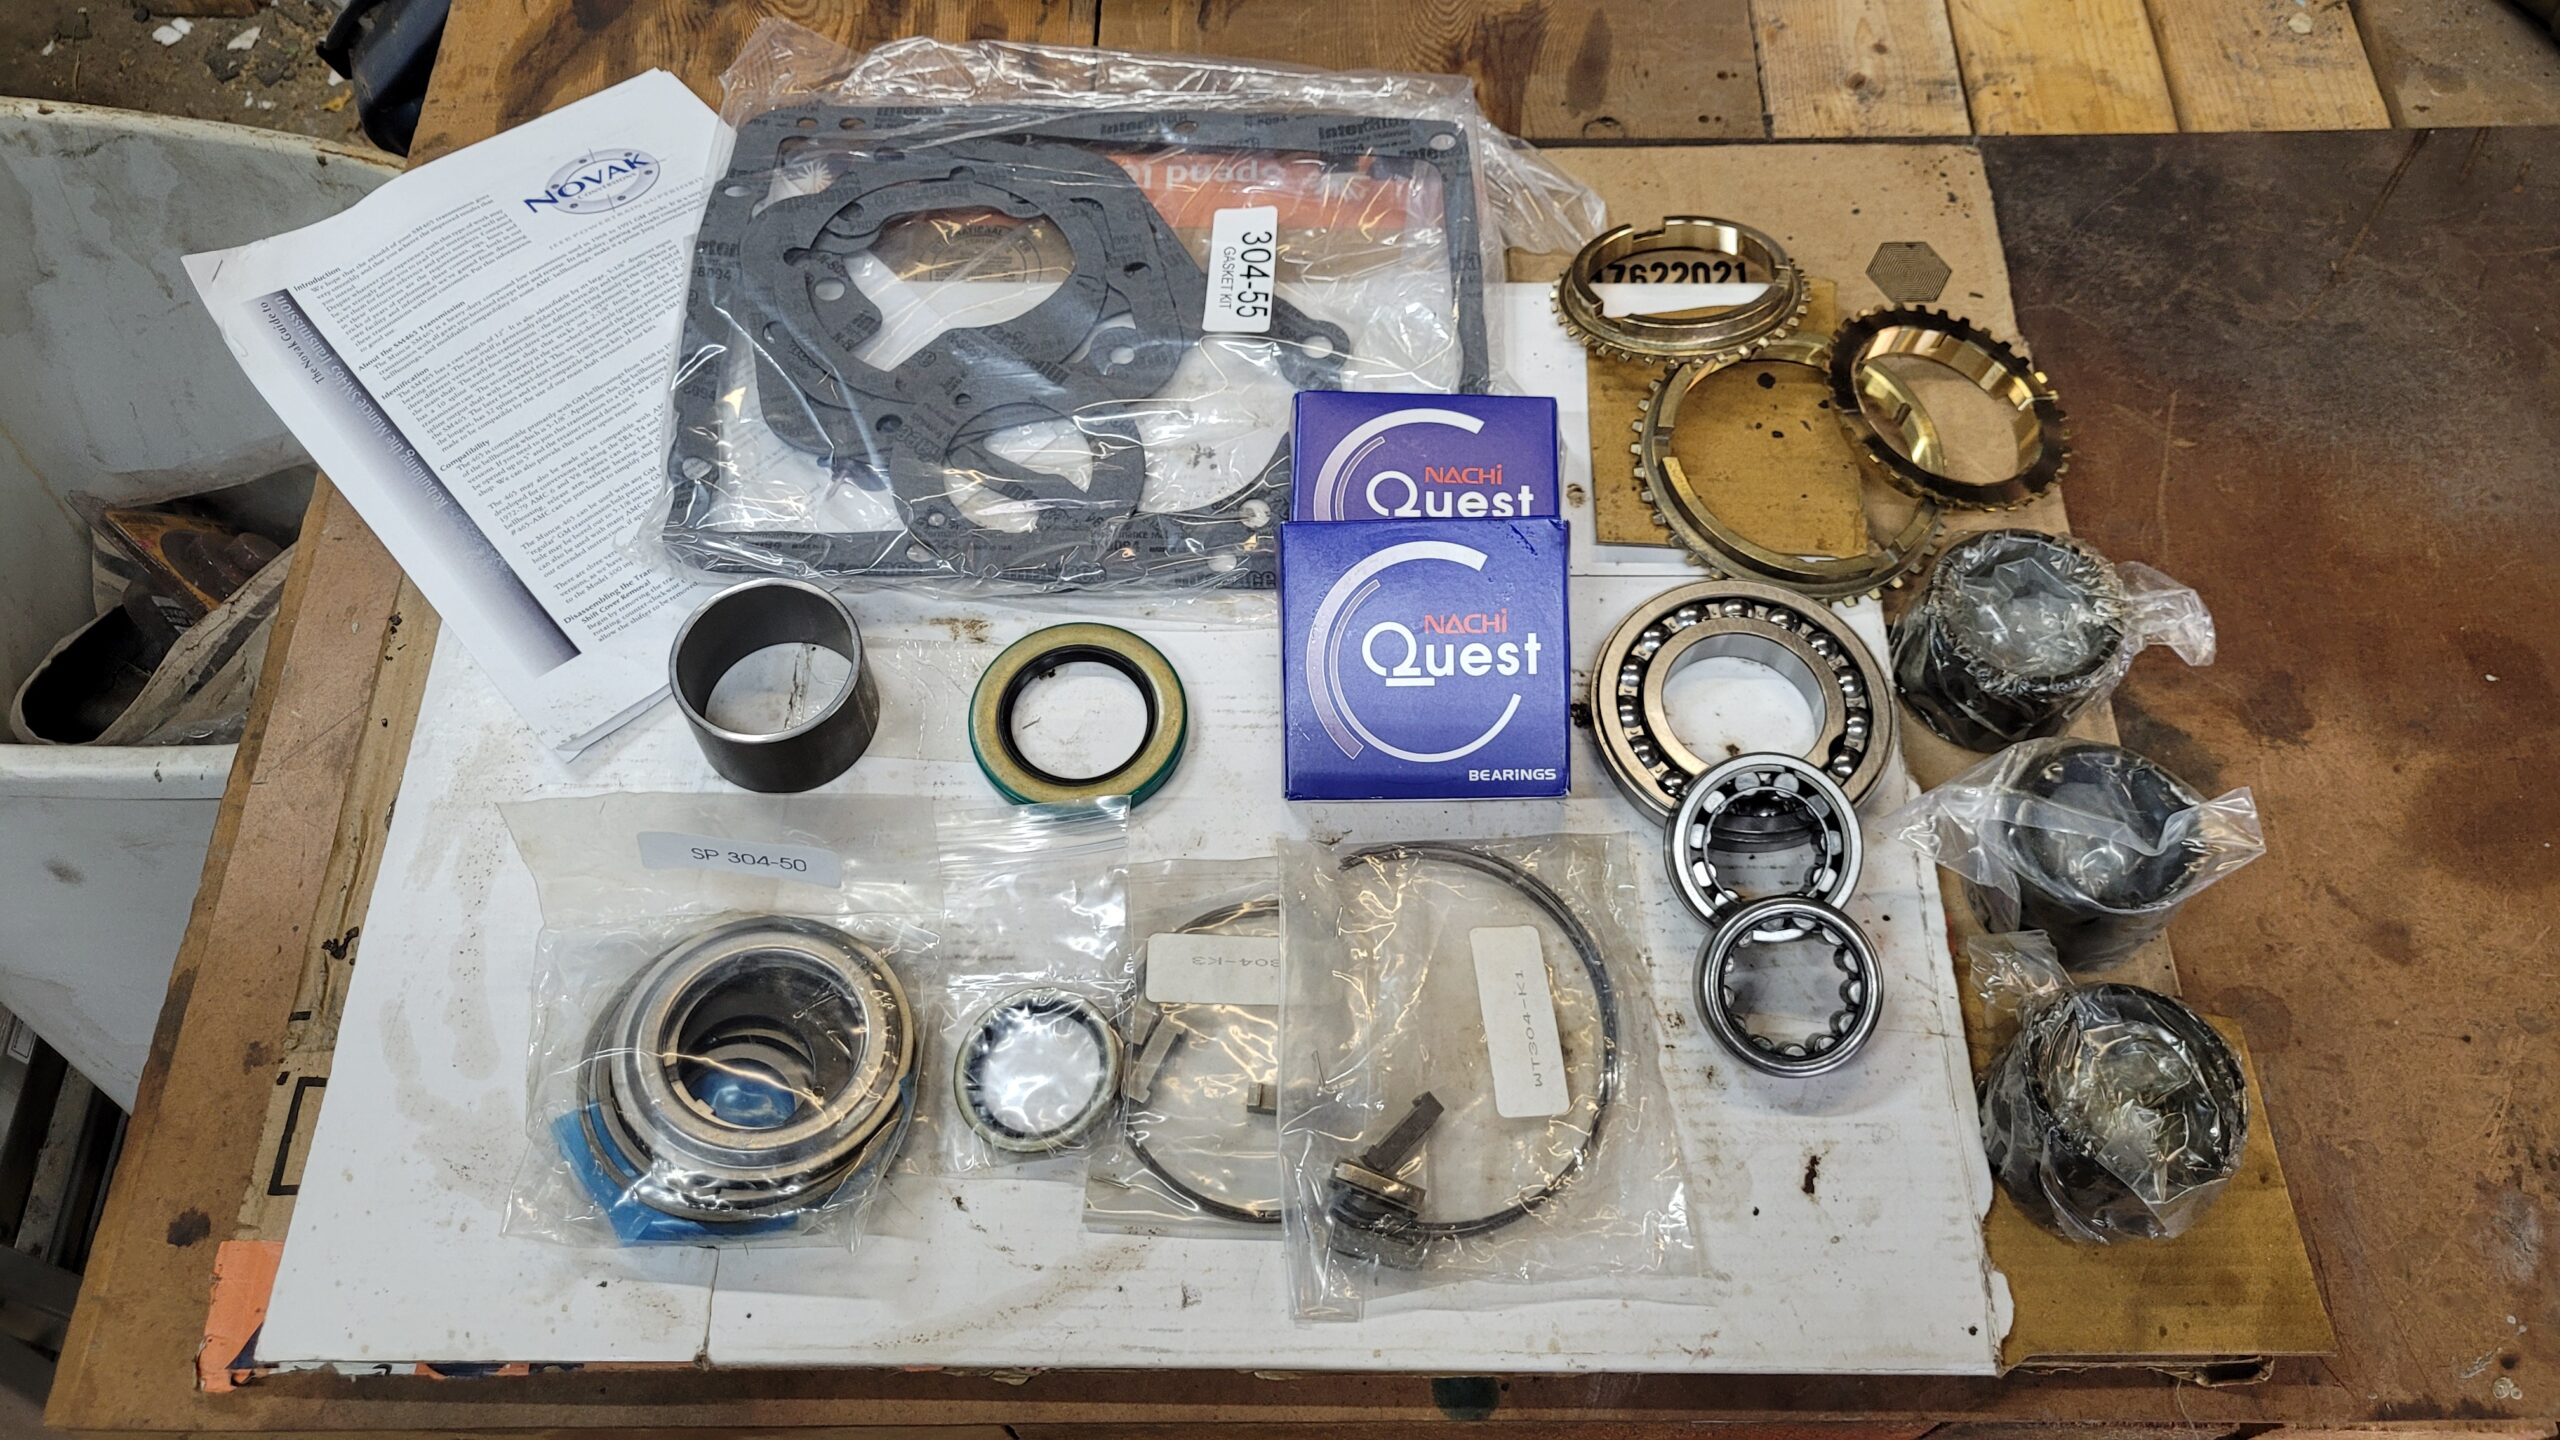
New parts
Continuing on now with the re-assembly of our SM465 4-speed transmission, we break into our rebuild kit we got from Novak Conversions. This has most everything you need to do a rebuild on this transmission. If you haven’t read Part 1 of the SM465 rebuild we recommend you check it out.
There were a few points we would like to mention however. 1) There was no small parts kit to do anything with the top cover of the transmission, and 2) There was no replacement bushing for the reverse idler gear. Neither of these are really crucial but it would have been nice if they were included. The small parts kit we found on amazon. A note on this also, the picture shows the 3 little discs that plug the holes for the shifter rods. The kit we got did not have these. If you tear into the shifter top we would recommend that you save these plugs unless you have a source to find replacements. We will cover the shifter top rebuild in a separate post in the future. As for the bushing on the reverse idler gear, we would have really liked to replace that while we had things opened up. We are not even sure that the bushing could be pressed out of the idler gear to be replaced. We would assume that it is possible but if it were that big of a deal then we could just buy a new reverse idler gear with a new bushing included. Allstate Gear has all the parts you would need should anything need replacing.
I would also like to note that there are some really good videos of how to get these transmissions apart and then re-assemble them on youtube.
Time to press
To start with we needed to press the gears off of the old shaft so it could be replaced. These gears pressed off fairly easily. It was more difficult to get the snap rings off then to press the gears off the shafts. Once the gears were off we took everything to the parts washer and got them cleaned up. The gears in this transmission didn’t look too bad for wear, with the exception of the reverse idler gear.

Once everything was cleaned up we started pressing the new bushings and gears back onto the new main input shaft.
Getting the shaft in

One thing we noticed early on with this transmission was the main input shaft. It had some wear marks on the end of the main input shaft that we did not really like the looks of. We ended up replacing the shaft with a new one from Allstate Gear.


We pressed the bushings and gears back onto the main shaft, and held everything together with the new snap rings that were provided in the rebuild kit. Once the main shaft was re-assembled we set it aside and started on the counter shaft. There is not much to be done on the counter shaft but there is a new spacer included that eliminates 2 of the snap rings. You will need to remove the large gear off of the end and then the next 2 snap rings to be able to install the new spacer correctly. Once the spacer is in place you can put the gear and snap ring back on the counter shaft and then its time to start re-assembling things.
All them parts
Once both of the shafts have been re-assembled with all the gears and syncros in the correct order we put it all back in the case. Start with the counter shaft by placing it into the bottom of the transmission case. Then the reverse idler gear and shaft. When putting the reverse idler gear shaft back in place, be sure that the flat piece of the end of the shaft is facing down with the round half of the shaft on top. After the shaft is in this position we drive the shaft into the case. This should fit snuggly.

Placing the main shaft back into the top of the case in a similar fashion in which it came out should get things starting to mesh back up a bit. After the main shaft is back in place we are ready to put the input shaft back in. This one can get a little bit tricky. First having some good thick grease will make this much easier. We start by packing grease into the back end of the input shaft where the roller bearings live. Then one at a time add the individual rollers, setting them in the grease. This will hold them in place as the input shaft is installed back into the case.
After the input shaft is back in place we can start putting the bearings back in the ends of the case. Sometimes this is easier if you can tip the case up on end to help center the shaft a bit as the bearings are driven into place. I would also note that most of these transmissions I have worked on all come with a magnet stuck in the bottom of the case near the drain plug. This magnet will catch all the small metal shavings that get in the oil over time due to wear and hold them so they are not running through the gears with the oil. This particular transmission did not have one, but I found some on amazon, so it will have one again once reassembly is complete. These can be placed in the bottom before sealing up the PTO cover on either side of the transmission.
Capping It Off
Once all the gears are back inside the case we can button up the rest by bolting on the PTO covers and top cover. Before closing up the case I would like to note that most of these transmissions that I have worked on have a magnet of some sort in the bottom of the case near the drain plug. This is to catch any small metal shavings that may get into the oil. It keeps the metal particles from circulating through the gears with the oil and will prolong gear life. This particular transmission did not have one which leads me to believe someone has previously discarded it. I did find a suitable replacement on amazon though. When putting the covers back in place I would recommend using some liquid gasket material or silicone gasket maker. It doesn’t take much, just enough to help the gasket to seal. Once all of the covers are on, backup light switch is installed, and drain plugs are in place, I plugged the shifter hole in the top of the case and then set the transmission aside to move on to the next task.
Next up we tackle the disassembly of the dana 44 front axle and get it ready to paint and reassemble.